
Welcome to the comprehensive tutorial on “How to Create an Expense” in our user-friendly accounting system. In this guide, we will walk you through the step-by-step process of efficiently recording and managing expenses, empowering you to maintain accurate financial records and gain better insights into your business’s financial health. Let’s dive in and simplify your expense tracking journey!
STEP 1:
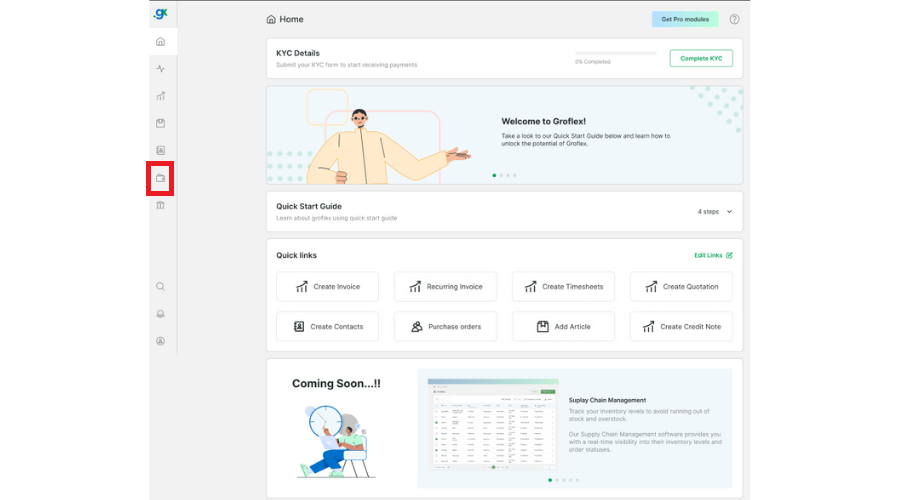
From the homepage, click on the expenditure icon.
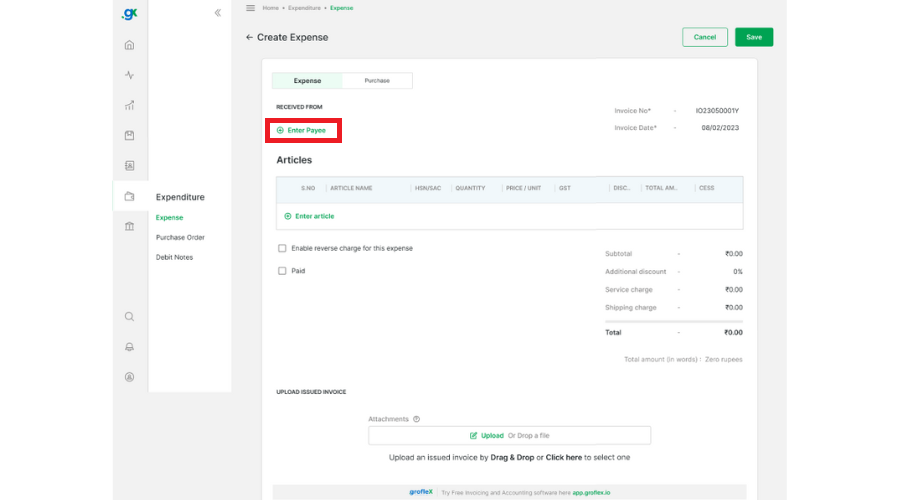
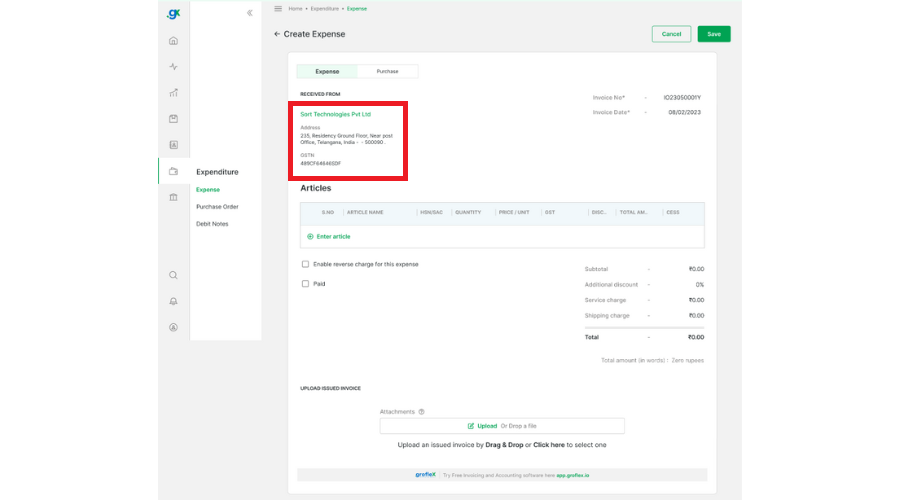
STEP 2:
Click on ‘Enter payee’ and select a payee.
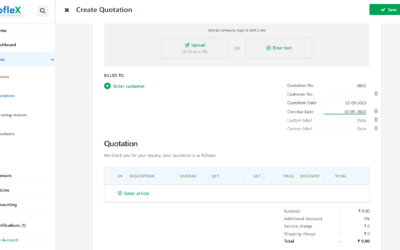
Before
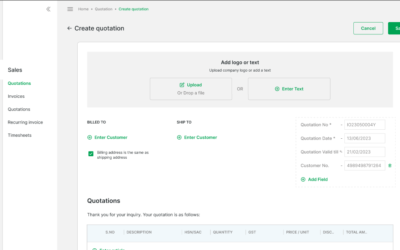
After
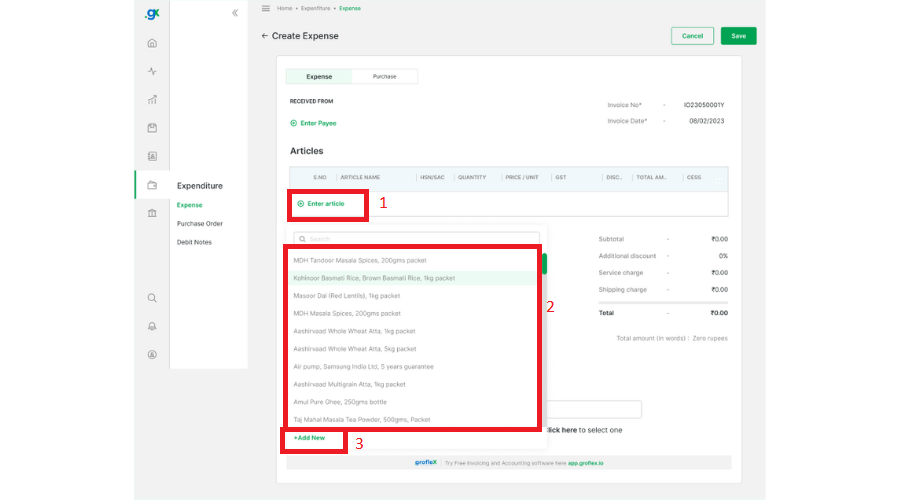
STEP 3:
Click on ‘Enter an article’ and from the dropdown list, select an article or add an article.
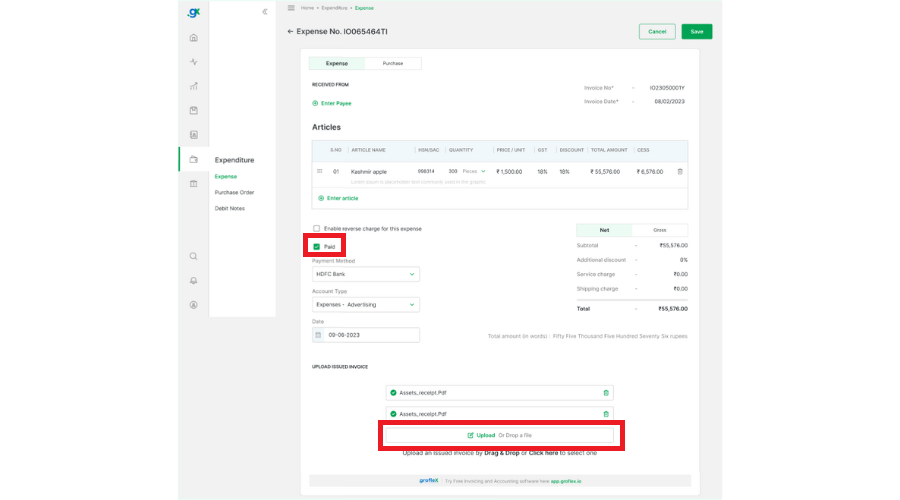
STEP 4:
To add a payment, select the ‘Paid’ checkbox and then select a payment method, account type, and date. You can also upload the issued invoice by clicking the ‘Upload or Drop a File’ button.
CONCLUSION:
Congratulations! You’ve successfully completed our “How to Create Expenses” tutorial for our user-friendly accounting system. By mastering this process, you can now efficiently track and manage your expenses, ensuring accurate financial records and better business insights.
Signup now for Free and enjoy unlimited Quotations & Invoices at grofleX